In this section, you will see images and a brief explanation of how to schedule a geofence.
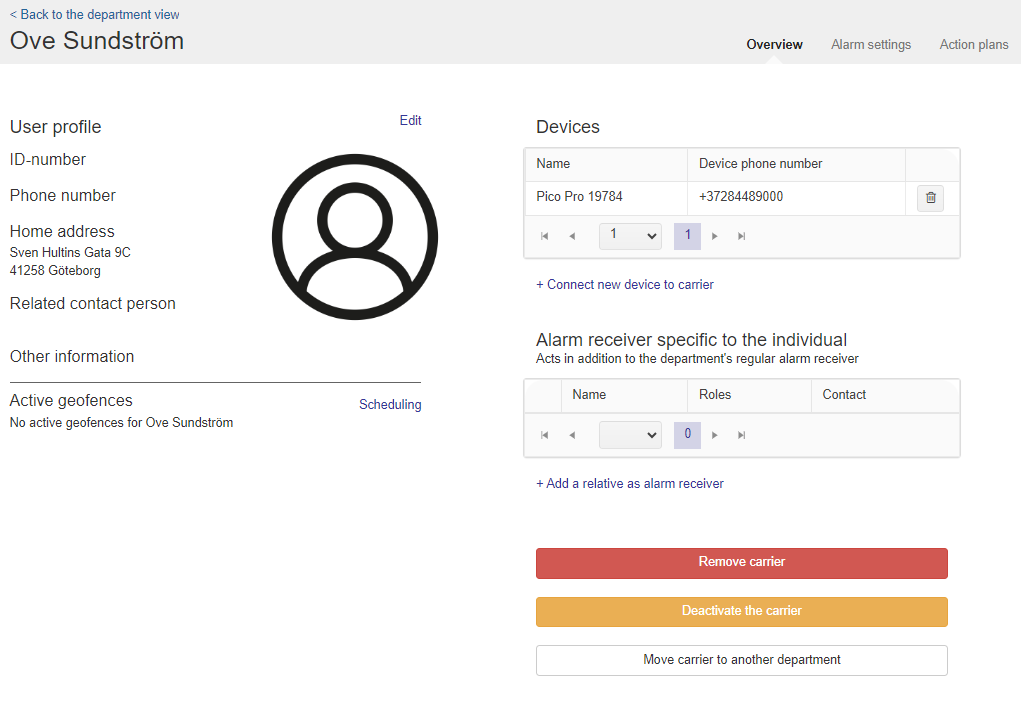
1. On the department view, click on the carrier’s profile to be able to schedule the geofence.
2. Go to Alarm settings or click on Scheduling to schedule one or more geofence for the selected carrier.
3. If you go via Alarm settings, tap geofence and then “Add geofence”.
4. Select the geofence you want to schedule. Choose which days the geofence should be active. Tick if the area should be active around the clock or fill in the time when it should apply. Then choose whether the geofence should be received as an alarm or notification and then press save. If you want to schedule another geofence, then follow the guide from step 3. Is there no geofence in the drop-down list? Either you have not created an area, this is done on the ward, or the carrier’s GPS alarm does not support the type of area you have created.