In this section you will see pictures and a short explanation of how to create a safe area.
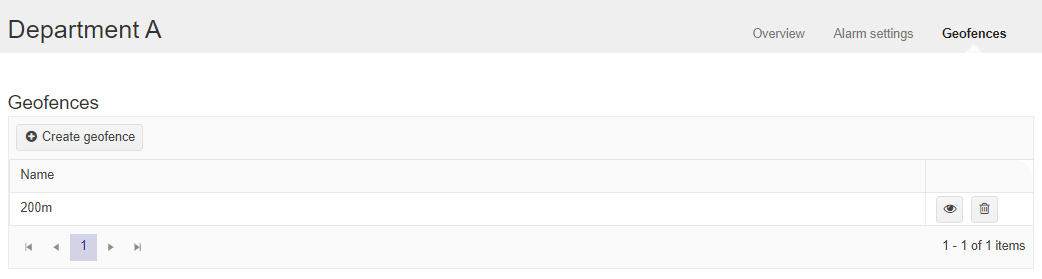
1. In the department view, start by clicking Geofence in the menu bar.
2. Click on “Create geofence”.
3. Name the area and select the type of area you want to create. Freeform, circle or hexagon. In this example, we create a security area using Friform. Keep in mind that the area must be at least 200m. Type in an address around which the map should be centered if the area is not already visible on the map and press enter. Now you can start marking out where you want the area. Press “Create area” to see how the area looks on the map. You can now see the area you have created in the picture to the right. If you wish to adjust something, do so by dragging the points in the area’s outline. When you are satisfied, click Save.
4. You can see the geofence in the list. If you need to edit the area, click on the eye on the right. If you want to create another geofence area, click on “Create geofence” and follow the guide from step 3. Don’t forget to schedule the safety area for the carrier.