In this section you will see pictures and a brief explanation of how to schedule an alarm receiver.
1. On the department view, click Alarm Settings or Scheduling.
2. Click on “Create schedule”.
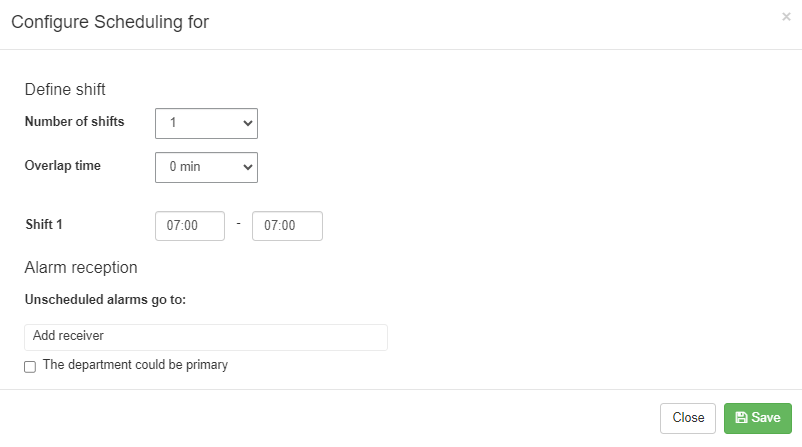
3. Select the number of passes and whether to set a joint time when alarms go to both passes (currently if you select more than 1 pass) before and after so that no alarms risk being missed. Fill in the time when the passes are valid. Should a specific alarm type not be scheduled but go to the selected alarm receiver, fill it in under Unscheduled alarms go to.
In that case, don’t forget to make the change under Alarm Types. Then click save.
4. Choose which days the alarm receiver should be scheduled and select the alarm receiver in the list. Then click save.
5. Here you see that the alarm receiver is scheduled. Check that all passes have a scheduled alarm receiver. If you want to schedule a new alarm receiver, click on “Schedule alarm receiver” and schedule the alarm receiver.
6. Note that the color of the status symbol has changed from red to green for alarmreceiver1 at the “Scheduled” column. This means that the alarm receiver is scheduled.